
With more recent releases of Windows 10 Microsoft has made it harder to setup a new computer with a local user account. This trend continues on into Windows 11 but the process is a bit more convoluted than before.
In Windows 10 you simply had to choose to not connect to a network – by doing so setup would give you the option to setup a local user account.
In Windows 11 you HAVE to connect to a network because they put the Windows update process before sign in this time around. The trick is pretty simple:
- Connect to a network
- Let setup run the update
- Disconnect from the network
- Set up your local user account
Here is a bit more detail to help you out…
Connecting to a network is easy enough – however consider hardwiring if possible or using your smart phone’s hotspot functionality – this will make it easy to disconnect later. If you use your WIFI to connect, you’re best option later would be to reboot your router and I’m not sure your family or roommates wouldn’t appreciate this option.
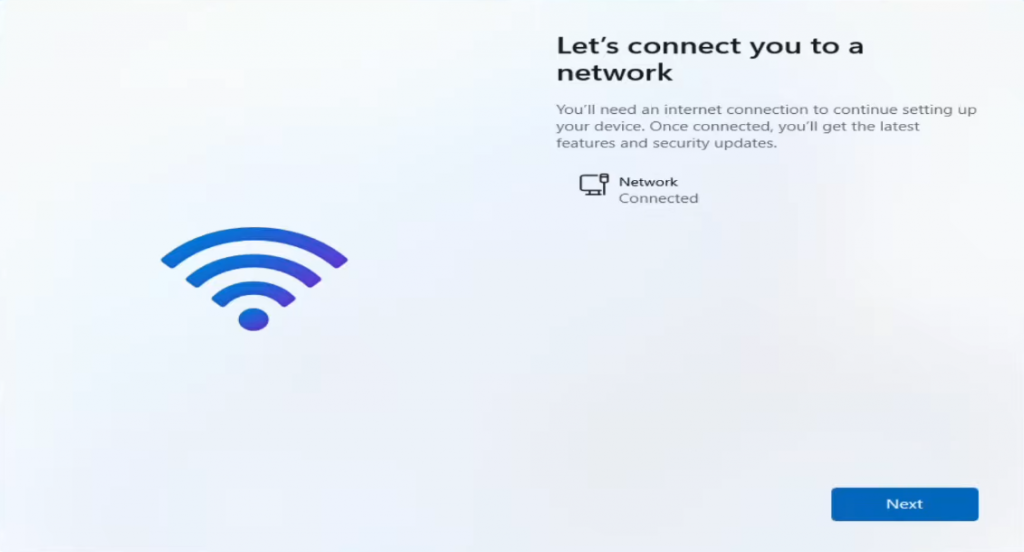
Once you hit “Next” – the update process will start. Once that completes it’ll ask you for a Computer Name then finally to login with your Microsoft Account.
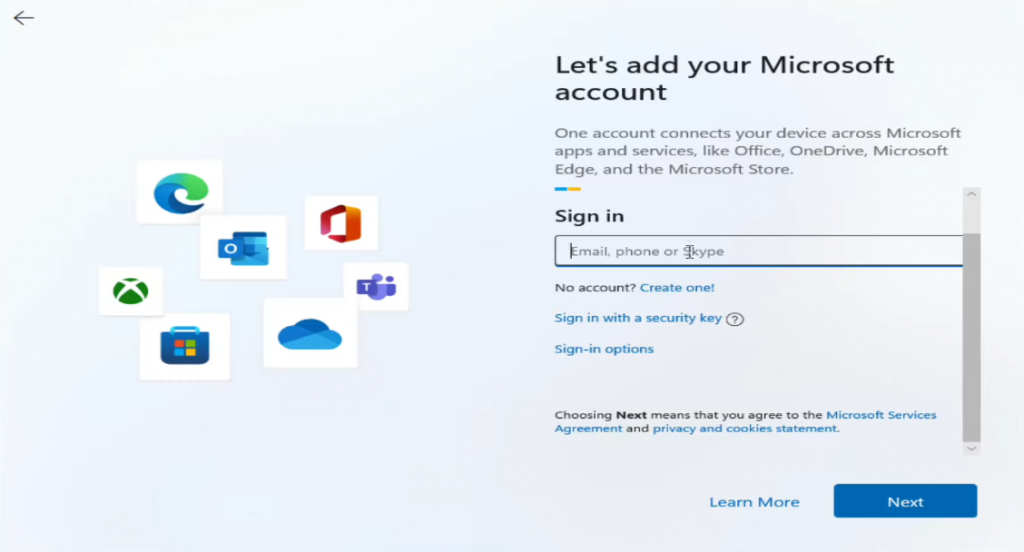
Here is where you want to disconnect your internet – once you do you can simply click on “Create One!”
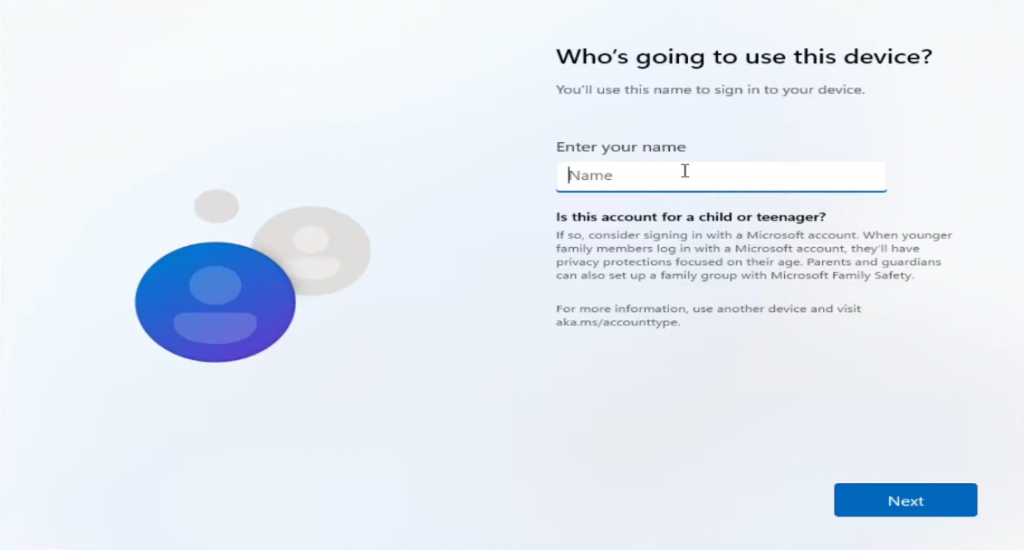
Voila! You’re setting up your local user account on your new Windows 11 Installation!
After this simply walk through the rest of setup and enjoy your fresh set of Windows!